
How Composting Actually Works
Composting is a managed biological process in which microorganisms — primarily bacteria and fungi — break down organic matter into a stable, nutrient-rich material called humus. When finished, compost looks and smells like dark, crumbly soil and can be worked directly into garden beds to improve nearly every measurable soil quality.
The process depends on four inputs: carbon, nitrogen, moisture, and oxygen. Carbon-rich materials (called browns) provide energy for microbes. Nitrogen-rich materials (called greens) supply the protein microbes need to reproduce and work efficiently. Moisture keeps the microbial community active, and oxygen prevents the pile from going anaerobic — a condition that slows decomposition and produces foul odors.
Getting compost right is less about perfection and more about keeping those four factors roughly in balance. When something smells or stalls, it's almost always a fixable imbalance in one of those inputs. For a deeper look at how soil biology connects to plant health, see understanding soil pH, drainage, and texture.
Never Compost These Materials
Meat, fish, bones, dairy products, and oily foods attract pests and create odor problems. Pet waste and diseased plant material can introduce harmful pathogens. Keep these out of any home compost system, regardless of its design.
What to Compost — and What to Skip
Browns (carbon sources): dried leaves, cardboard torn into small pieces, paper bags, straw, wood chips, and paper towels. These materials decompose slowly and form the structural backbone of your pile.
Greens (nitrogen sources): vegetable and fruit scraps, coffee grounds and filters, tea bags (remove staples), fresh grass clippings, and plant trimmings. These are typically moist and break down faster.
A general guideline is to aim for roughly two to three parts browns by volume for every one part greens. Too many greens and the pile turns slimy and smells like ammonia. Too many browns and decomposition stalls noticeably. If you generate a lot of grass clippings, using some as garden mulch is an effective way to distribute nitrogen-heavy material rather than overloading your pile.
What you will need
Setting Up Your Compost System
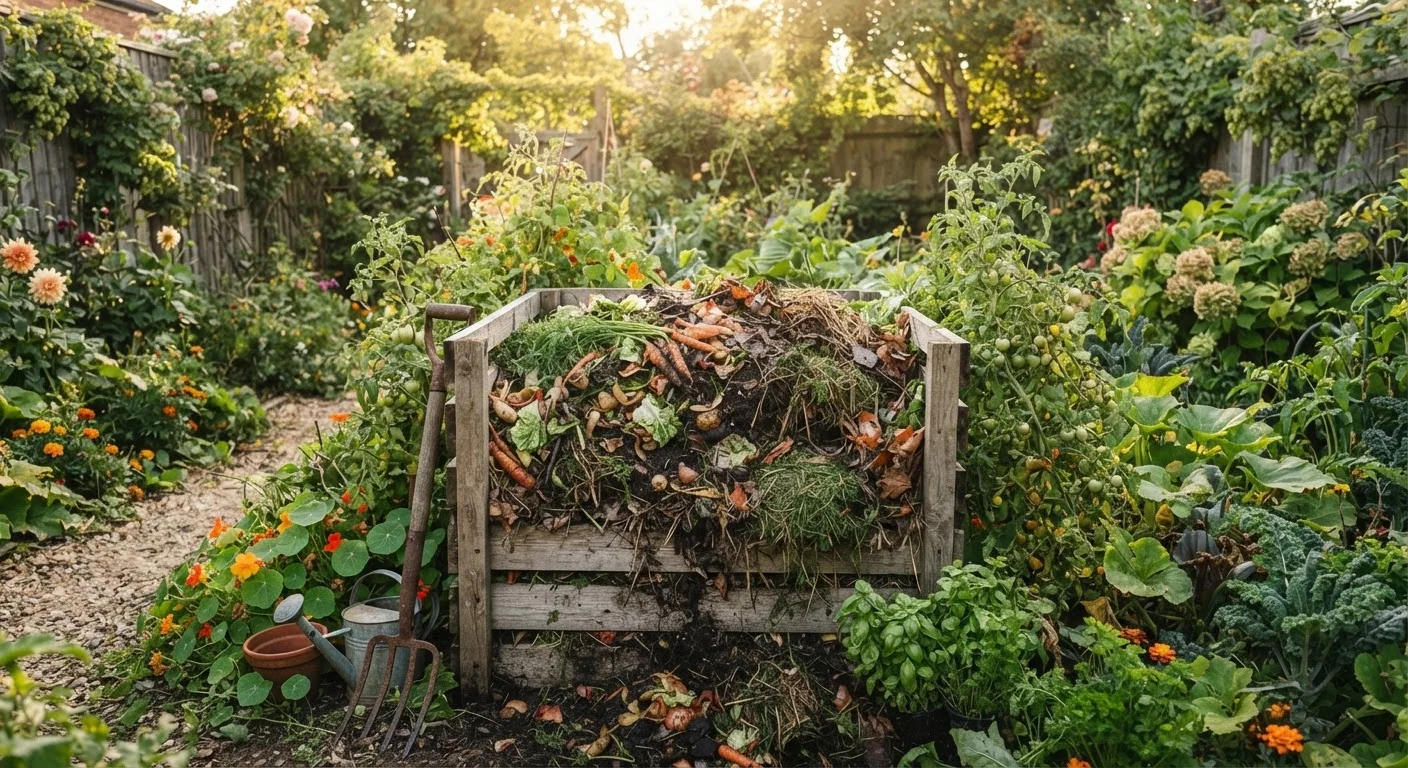
Choose a spot with partial shade — full sun dries the pile out too quickly, and full shade slows microbial activity. A three-bin system is efficient for continuous production, but a single enclosed bin or a simple open pile both work well for most households.
If you opt for a bin, look for one with good ventilation and easy access for turning. If you build a freestanding pile, placing it directly on bare soil (not concrete) allows worms and beneficial insects to migrate in from below — a meaningful advantage.
Pitchfork or Garden Fork
Used to turn and aerate the compost pile, which is the most critical maintenance task.
Compost Bin or Enclosure
Keeps the pile contained, retains heat, and reduces pest access compared to an open heap.
Countertop Kitchen Scrap Container
Collects fruit and vegetable scraps indoors between trips to the outdoor pile.
Garden Hose or Watering Can
Used to add moisture to the pile when it dries out during warm or dry weather.
Half-Inch Hardware Cloth
Screens finished compost from partially decomposed chunks before applying to garden beds.
Compost Thermometer
Measures internal pile temperature to confirm active decomposition and pathogen-killing heat levels.
Layer your starting materials: begin with a few inches of coarse browns like wood chips or shredded cardboard to promote airflow at the base, then alternate green and brown layers as you add material over time. You do not need to be precise — composting is forgiving. The layering habit simply helps maintain balance from the start.
Maintaining the Pile
Once established, a compost pile needs three things: regular turning, consistent moisture, and fresh material. Turn the pile every one to two weeks using a pitchfork, pulling material from the outer edges into the center where heat is highest. This is the single most effective action you can take to speed decomposition.
Moisture should feel like a wrung-out sponge — damp throughout but not dripping. In dry climates or during summer, you may need to water the pile occasionally. In rainy seasons, covering it loosely helps prevent waterlogging.
A hot pile — one actively decomposing — can reach 130–160°F internally. This temperature range is beneficial: it accelerates breakdown and kills most weed seeds and pathogens. If your pile never heats up, it usually needs more greens or more water. If it smells like sulfur or ammonia, add browns and turn it immediately.
Home composting pairs naturally with a broader garden routine. See the seasonal yard maintenance guide for how composting fits into fall leaf cleanup and spring garden prep.
Knowing When Compost Is Ready — and How to Use It
Finished compost is dark brown to black, crumbles easily, and carries an earthy smell similar to forest soil. You should not be able to identify the original materials. If large pieces remain, screen the compost through half-inch hardware cloth and return the chunks to the active pile.
Work finished compost into garden beds at a rate of two to four inches tilled into the top six to eight inches of soil before planting. It can also be used as a top dressing around established plants or mixed into potting soil at roughly 25–30% by volume. For vegetable gardens, compost added before each growing season builds soil fertility incrementally without the nutrient spikes associated with synthetic fertilizers — a key distinction explored in the comparison of chemical fertilizers vs. organic amendments.
If you're planning new planting areas, composted soil is an excellent foundation. Whether you're preparing a raised bed or an in-ground plot, or starting a vegetable garden, homemade compost gives you a strong, low-cost start.