
Why Mulching Matters More Than Most Gardeners Realize
Mulch does quiet, consistent work that's easy to underestimate. It regulates soil temperature, slows evaporation, suppresses weeds, and — when organic materials are used — gradually feeds the soil as it breaks down. Done right, a well-mulched bed can meaningfully reduce watering needs and cut time spent pulling weeds.
The catch is that mulching is one of the gardening tasks most often done incorrectly. Too little mulch — a scant inch or so — doesn't provide enough insulation or weed suppression. Too much can starve roots of oxygen, trap excess moisture against stems, and create a habitat for pests and disease. Getting the fundamentals right costs the same as getting them wrong; the difference is in understanding what you're actually trying to achieve.
Whether you're tending a perennial border or setting up a vegetable patch, the same core principles apply. For a deeper look at how your planting approach affects overall soil and drainage management, see our article on raised garden beds vs. in-ground planting.
Choosing the Right Mulch Material
Mulch falls into two broad categories: organic and inorganic. Each has a legitimate place in the garden depending on your goals.
Organic Mulches
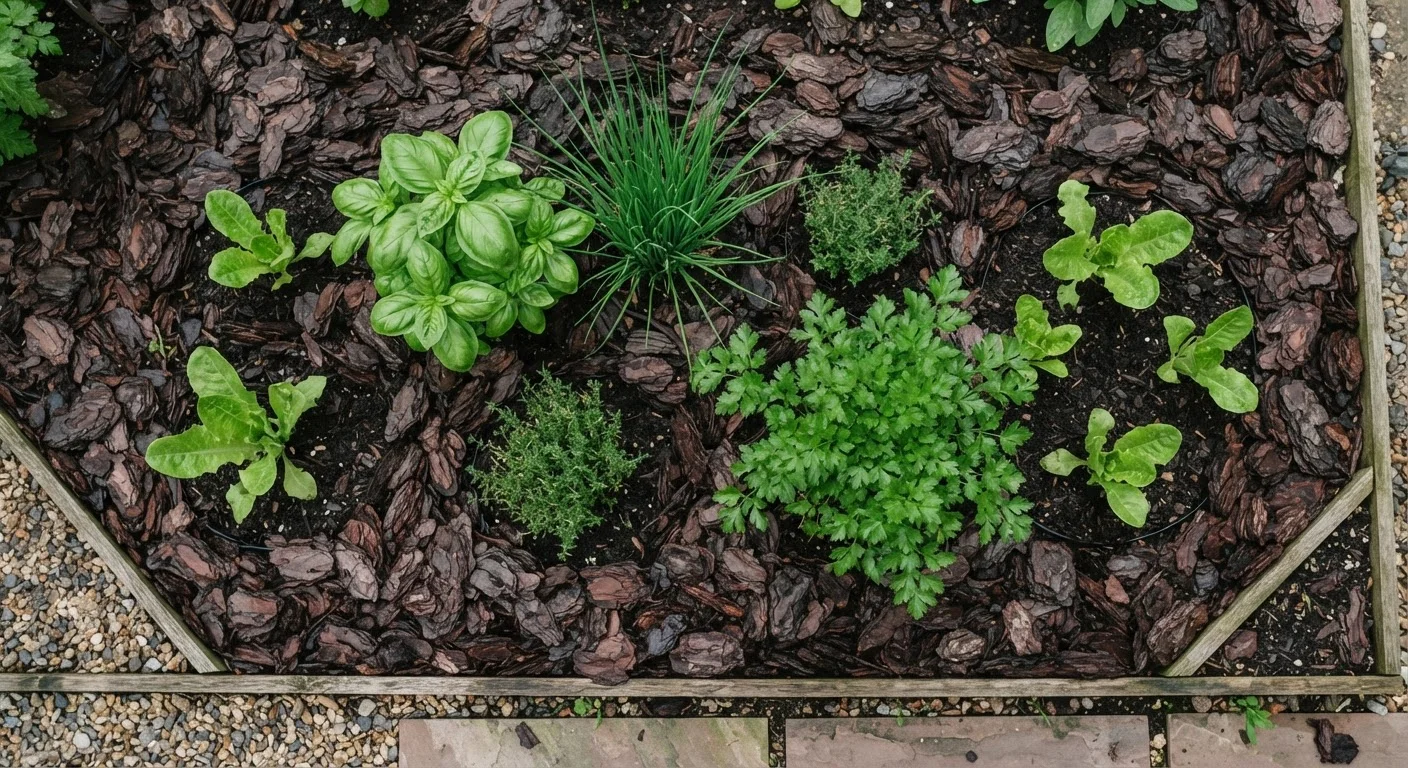
- Wood chips and shredded bark — durable, widely available, and excellent for shrubs and trees. They break down slowly, feeding soil over one to three years.
- Straw — a common choice for vegetable gardens; light, affordable, and easy to work around transplants. Breaks down faster than wood chips.
- Compost — doubles as a soil amendment. A 1–2 inch layer around plants feeds the root zone while suppressing light weed pressure. Pair this approach with your home composting practice for a low-cost supply.
- Shredded leaves — a free resource in autumn that breaks down quickly. Best mixed with other materials to prevent matting.
Inorganic Mulches
- Gravel and river rock — long-lasting and effective in drought-tolerant or Mediterranean-style plantings. Does not improve soil, and can increase soil temperature in hot climates.
- Landscape fabric with rock topping — can reduce weeds initially, but degrades over years and often creates maintenance headaches as soil and debris accumulate on top.
In most home garden settings, organic mulches offer the broadest benefits. Inorganic options work well in low-maintenance zones or areas where you're not trying to improve soil quality.
Apply mulch to a consistent depth of 2–3 inches across the entire bed surface.
Uniform depth is what gives mulch its suppression and moisture-retention power. Thin spots invite weed germination and reduce the insulating effect that protects roots from temperature swings.
Always leave a 2–3 inch gap of bare soil around plant stems and tree trunks.
Direct contact between moist mulch and woody stems creates conditions for fungal disease and crown rot. Trees are particularly vulnerable — girdled bark from mulch contact can cause long-term decline.
Match mulch material to the specific use zone in your garden.
Different materials excel in different contexts. Using the wrong type can mean faster breakdown than desired, excessive nitrogen draw, or soil temperature effects that work against your plants.
Refresh and replenish mulch each spring before the main growing season.
Mulch depth diminishes through decomposition and displacement. Catching the window before weeds germinate and soil dries out in early summer maximizes the season-long benefit.
Loosen compacted old mulch before adding a new layer.
Compacted organic mulch can form a water-repellent crust that channels rainfall away from plant roots rather than allowing it to penetrate. Raking breaks this up and restores permeability.
Depth, Placement, and Timing: The Details That Determine Success
Depth guidelines: For most garden beds, 2–3 inches is the target range. Fine-textured materials like compost can compact, so aim for 1–2 inches. Coarser wood chips can go up to 4 inches in ornamental beds where you want long-lasting coverage. Going beyond 4 inches is rarely beneficial and can impede water infiltration and gas exchange.
The "mulch volcano" mistake: Piling mulch up against tree trunks or plant crowns — a practice sometimes called a mulch volcano — traps moisture, encourages fungal disease, and can girdle roots over time. Always leave a 2–3 inch gap of bare soil around stems and trunks. This is one of the most common and preventable mulching errors, and it's discussed in more detail in our piece on landscaping myths that waste money and kill plants.
Timing: Spring mulching — applied after the soil has warmed slightly — helps hold moisture through summer and suppresses the season's first flush of weeds. Fall mulching insulates roots going into winter, which is especially valuable for perennial plants that need protection during freeze-thaw cycles. Avoid mulching frozen ground in winter, as it can delay soil warming in spring.
Maintaining Your Mulch Layer Over Time
Organic mulch breaks down — that's a feature, not a flaw — but it means you'll need to refresh it periodically. Check depth each spring and replenish any areas that have thinned to under an inch. Rather than layering new mulch on top of compacted old material indefinitely, rake and loosen the existing layer before topping it up. This prevents hydrophobic crust formation, which can cause water to run off the surface instead of soaking through.
Watch for signs that your mulch is working against you: persistent moisture at the soil surface combined with wilting plants may indicate over-mulching and oxygen deprivation. Yellowing leaves near the crown could point to fungal issues from mulch contact. Adjust depth and pull material back from stems at the first sign of trouble.
One underused strategy: think of mulching as part of a broader soil-building approach. As organic mulch breaks down, it adds organic matter that improves drainage in clay soils and water retention in sandy ones — much like what well-made compost does. These systems reinforce each other when used together consistently.