

Why Caulking Deserves Serious Attention
A hairline gap around a window frame doesn't look like much, but over a heating season it can behave like a small vent left open around the clock. The U.S. Department of Energy has long identified air leaks around windows, doors, and frames as a significant contributor to household energy loss — gaps that caulking directly addresses. Beyond energy, water is the bigger long-term threat. Moisture that finds its way behind siding or into a door frame can quietly rot wood, feed mold, and compromise insulation long before any visible damage appears on the interior.
Caulking sits at the intersection of two very different home concerns — energy efficiency and moisture management — which is why it punches well above its weight as a maintenance task. It's also one of the most accessible repairs a homeowner can make. As part of a broader approach to exterior upkeep, re-caulking fits naturally alongside the improvements covered in practical exterior upgrades that protect and improve a home without major cost.
Check Caulk on an Annual Schedule
Build a quick caulk inspection into your spring or fall home walkthrough, before summer heat or winter cold arrives. Catching a failing bead early — before it separates fully — means a smaller repair job and no chance for moisture to work its way into the wall assembly over a full season.
What You'll Need Before You Start
Gathering the right materials before you begin will save you mid-project frustration. The single most important decision is caulk type. For exterior use — around window and door frames where the joint meets siding or brick — a paintable, siliconized acrylic latex caulk or a pure silicone caulk offers the durability and flexibility needed to handle seasonal expansion and contraction. Interior joints around trim generally tolerate standard paintable acrylic latex. Read the product label carefully: it should specify whether the caulk is rated for the surface material you're sealing (wood, vinyl, aluminum, masonry) and the temperature range during application.
What you will need
Caulk gun
Dispenses caulk in a controlled, even bead along the joint.
Utility knife or caulk removal tool
Cuts and lifts old caulk cleanly from the joint without damaging the frame.
Exterior-grade caulk (siliconized acrylic latex or silicone)
Creates a weatherproof, flexible seal that resists moisture and temperature changes.
Painter's tape
Masks the edges of the joint for a clean, straight caulk line.
Isopropyl alcohol or mineral spirits
Cleans the joint surface so caulk adheres properly.
Damp cloth or sponge
Smooths the caulk bead and removes excess before it cures.
How to Re-Caulk Windows and Doors
Follow these steps in order. Rushing the surface prep — particularly removal of old caulk — is the most common reason a new bead fails within a season. Patience in the first two steps pays off in years of performance.
Inspect the existing caulk
Run your eye and a finger along every joint where the window or door frame meets the surrounding wall surface. Look for cracks, gaps, missing sections, or caulk that has shrunk away from one side of the joint. Press gently — if the caulk feels hard and brittle rather than slightly flexible, it has lost its seal and needs replacement. Mark problem areas with tape or a pencil so you don't miss any spots.
Remove all old caulk
Use a utility knife or dedicated caulk removal tool to score and lift the old material. Work slowly to avoid gouging wood frames or scratching vinyl. Pull as much of the old caulk away by hand as possible, then use the knife to clean out residue from the joint channel. Do not apply new caulk over old — it will not adhere well and will fail sooner.
Clean and dry the joint
Wipe the joint with isopropyl alcohol or mineral spirits (follow the caulk manufacturer's recommendation) to remove dirt, grease, and any remaining adhesive residue. Allow the surface to dry completely — at least 30 minutes for exterior joints that may have absorbed moisture. Caulk applied to a damp surface will not cure correctly and can fail within months.
Apply painter's tape (optional but recommended)
For a clean finish, apply painter's tape along both sides of the joint, leaving the gap itself exposed. This is especially useful on painted trim or dark window frames where a stray smear of caulk would be obvious. Press the tape edge down firmly so caulk cannot bleed underneath.
Load and prepare the caulk gun
Insert the caulk tube into the gun. Use your utility knife to cut the tip of the nozzle at a 45-degree angle — start with a small opening (about 3/16 inch) rather than cutting too wide. Pierce the inner foil seal with a nail or the gun's built-in puncture rod. Squeeze the trigger gently until caulk appears at the tip, then you're ready.
Apply a smooth, continuous bead
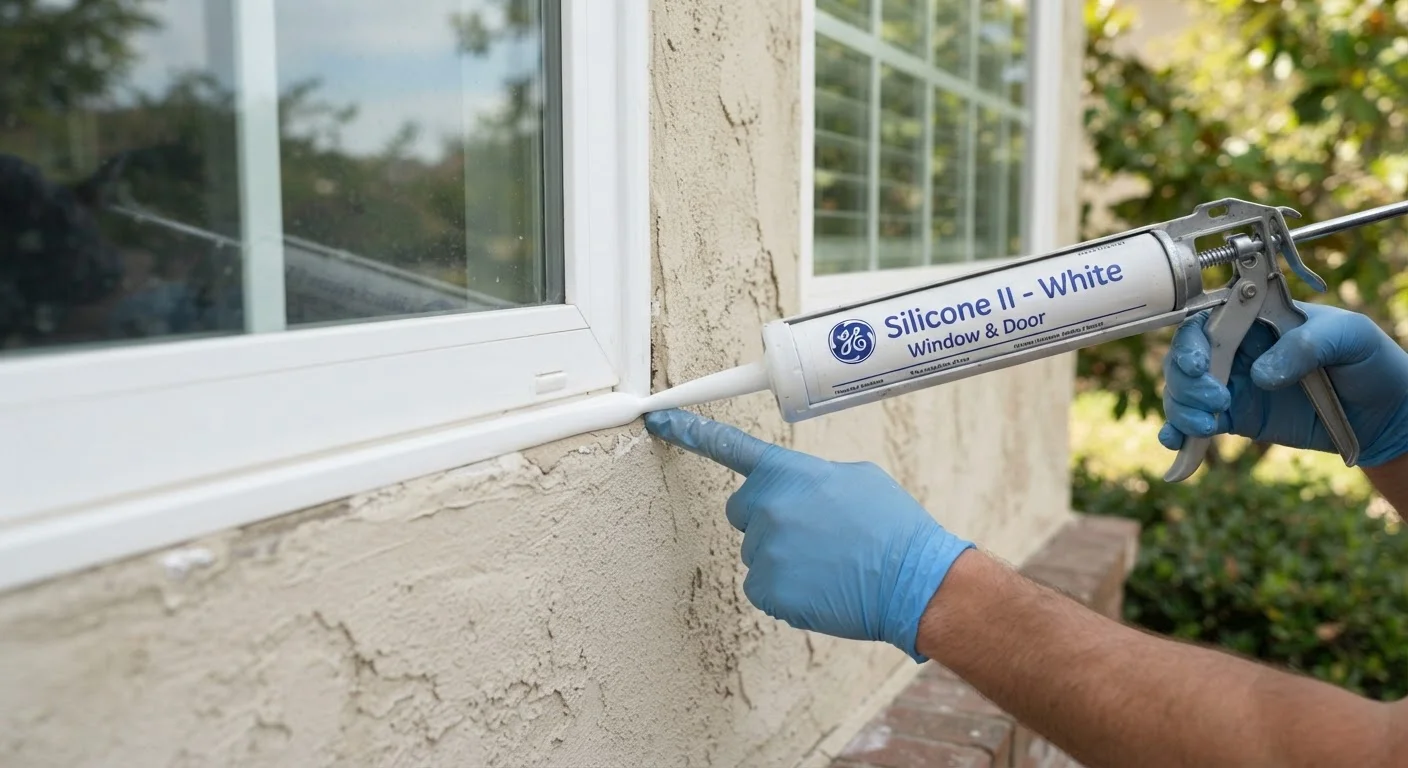
Hold the gun at roughly a 45-degree angle to the joint and move steadily along it — either pushing the bead ahead of the nozzle or dragging it behind, depending on what feels natural. Maintain consistent pressure on the trigger and try to complete each side of a frame in one uninterrupted pass. A steady pace produces a more even bead than starting and stopping.
Smooth and clean up
Within a few minutes of application, run a dampened fingertip or a caulk-smoothing tool along the bead to press it into the joint and create a slightly concave, professional-looking finish. Remove the painter's tape immediately while the caulk is still wet — pull it back at a low angle. Wipe away any smears with a damp cloth before they cure.
Allow full cure time before exposure to rain
Check the product label for cure time — most exterior caulks skin over within an hour but require 24 hours or more for a full, waterproof cure. Avoid washing down the area or exposing it to rain during this window. Once cured, exterior-grade caulk can be painted over if you've used a paintable formula.
Common Mistakes and When to Call a Pro
The most frequent errors are skipping old caulk removal, applying caulk in temperatures below 40°F (which prevents proper curing), and using an interior caulk on exterior joints. A caulk bead that is too thick tends to crack during curing; aim for a bead roughly the diameter of a pencil eraser.
While caulking itself is safe DIY territory, what it uncovers sometimes isn't. If you remove old caulk and find soft, discolored, or crumbling wood beneath, that's rot — and it needs to be assessed before you seal over it. Similarly, if you notice gaps wider than about half an inch, or if the window or door frame itself is visibly shifting, those are signs of a structural or flashing problem that warrants a professional inspection. Knowing where a task transitions from DIY to professional territory is a theme worth keeping in mind; the same principle applies in other home systems, as explored in our guide on renovation myths that cost homeowners money.
Finally, good caulking is one small piece of the broader picture of maintaining your home's exterior. If you're thinking about prioritizing projects, exterior renovations often go further than many homeowners expect when it comes to protecting long-term value.