
What You Need Before You Start
Setting up a home network from scratch sounds intimidating, but the process follows a logical sequence once you understand what each piece of hardware does. Before touching a single cable, confirm you have the essentials in place.
What you will need
Not sure which type of internet service you have — fiber, cable, or DSL? Our Home Internet 101 guide explains what each service delivers and how it reaches your home. And if you're unsure whether you need a separate modem and router or a single combo unit, the modem vs. router vs. gateway breakdown will clarify that before you buy anything.
Modem
Connects your home to your ISP's network and translates the incoming internet signal.
Wireless Router
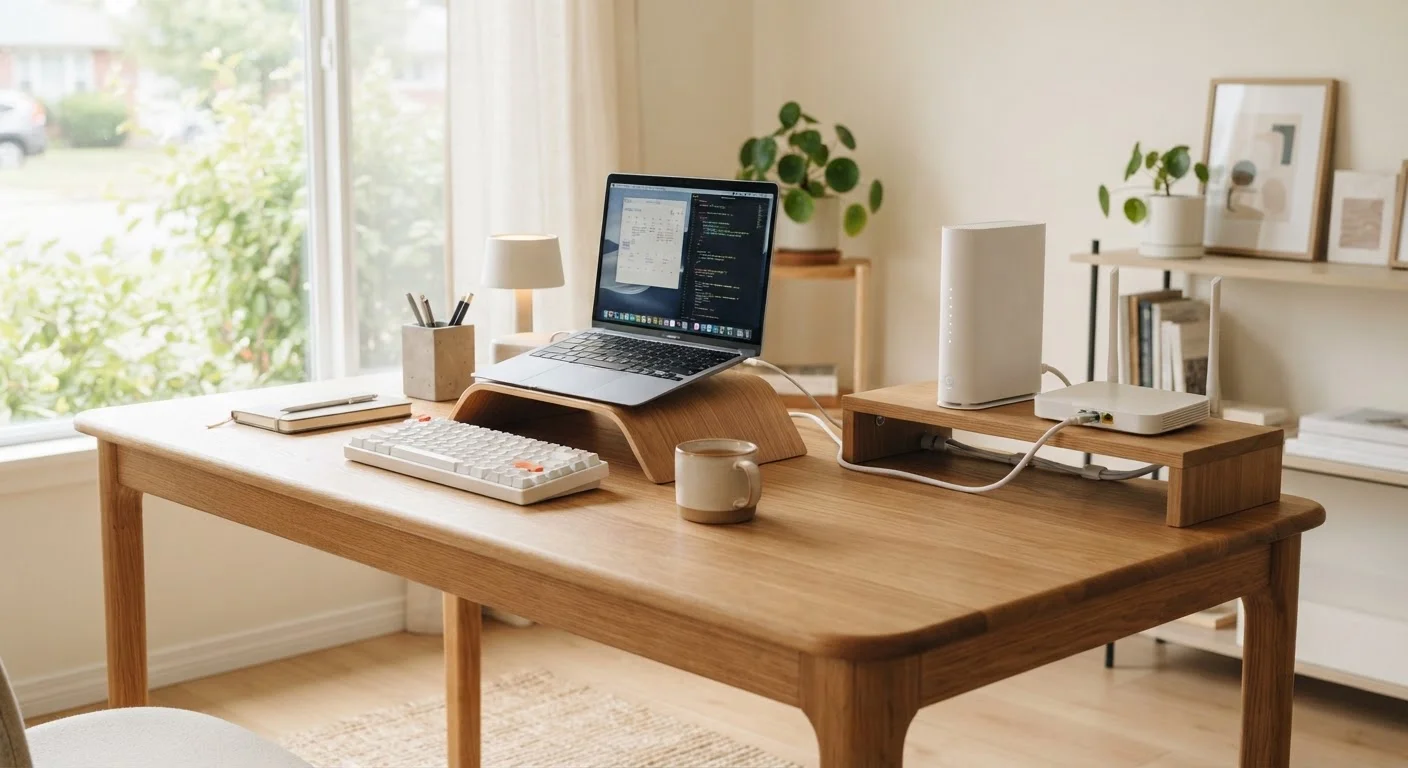
Distributes the internet connection from the modem to all devices in your home via Wi-Fi and ethernet ports.
Ethernet Cable (Cat5e or better)
Provides a wired connection between the modem and router, and optionally between the router and stationary devices.
Coax or Phone Cable
Connects the modem to the wall jack for cable or DSL service — type depends on your ISP connection type.
Smartphone or Laptop
Used to access the router's admin interface and complete network configuration.
Power Strip with Surge Protection
Protects your modem and router from power surges, which can damage hardware or corrupt firmware.
Step-by-Step Setup Instructions
Follow these steps in order. Skipping ahead — particularly to Wi-Fi configuration before the modem is fully activated — is the most common reason setups stall.
Connect the modem to the wall
Plug one end of your coax cable (for cable internet) or phone cable (for DSL) into the appropriate wall jack, and the other end into the matching port on your modem. Then connect the modem's power adapter and switch it on. Allow at least two minutes for it to fully initialize and authenticate with your ISP.
Connect the router to the modem
Use an ethernet cable to connect the modem's LAN port to the router's WAN port (sometimes labeled 'Internet'). These ports are usually color-coded — the WAN port on the router is often yellow or blue. Power on the router and wait about 60 seconds for it to boot.
Access the router's admin panel
From a device connected to the router (via ethernet or the router's default Wi-Fi network, found on its label), open a web browser and type the router's default admin address into the address bar — typically 192.168.1.1 or 192.168.0.1. Log in with the default username and password printed on the router label.
Set a custom Wi-Fi network name and password
Inside the admin panel, navigate to the wireless settings section. Change the default network name (called the SSID) to something recognizable but not personally identifiable — avoid using your name or address. Then set a strong, unique password using a mix of letters, numbers, and symbols. Save the changes; your router will reboot.
Change the router admin password
Still inside the admin panel, find the section for administrator account settings and change the default admin password to a strong, unique one. This is separate from your Wi-Fi password — it controls who can change router settings. Store it somewhere secure.
Connect your devices and test the network
On each device, select your new Wi-Fi network name and enter the password you set. For stationary devices like desktop computers or smart TVs, consider running an ethernet cable directly from the router's LAN ports — wired connections are faster and more consistent than wireless. Run a speed test from a browser to confirm your connection is working as expected.
Update the router firmware
Return to the router admin panel and look for a 'Firmware Update' or 'Software Update' section. Check for and install any available updates. Firmware updates patch security vulnerabilities and often improve performance. Many modern routers can be set to update automatically — enable this option if available.
Once your network is running, where you place your router makes a surprisingly large difference in coverage quality. See our article on router placement mistakes that kill your Wi-Fi signal to avoid the most common errors. If you have a larger home with dead zones, a mesh Wi-Fi system may be worth considering once your baseline network is stable.
Troubleshooting Common Setup Problems
Even a correctly assembled network can hit snags. Here are the most frequent issues and how to address them:
- No internet after connecting everything: Wait a full two minutes after powering on the modem before powering on the router. Modems need time to authenticate with your ISP.
- Wi-Fi network not appearing: Check that the router's Wi-Fi indicator light is on. Some routers require you to press a dedicated Wi-Fi button to broadcast the signal.
- Slow speeds on Wi-Fi but fast on ethernet: Interference from neighboring networks, thick walls, or appliances like microwaves can degrade wireless performance. Try moving the router or changing the Wi-Fi channel in the router's admin panel.
- Cannot access the router admin panel: The default admin address (often 192.168.1.1 or 192.168.0.1) and login credentials are printed on a label on the router itself.
- One device won't connect: Forget the network on that device and reconnect from scratch. If it still fails, try restarting the device.
Security should be your next focus once everything is working. The home network security basics article covers the foundational steps — like updating router firmware and setting up a guest network — that most households skip entirely.