

Why Renovation Projects Go Off the Rails
Most home improvement projects don't fail because of bad luck. They slip — in budget, timeline, or quality — for reasons that show up repeatedly: scope that wasn't pinned down, surprises that weren't budgeted for, and communication that relied too much on verbal agreements. Understanding the pattern is the first step toward breaking it.
If you're newer to owning a home and working through your first projects, a primer for first-time homeowners is worth reading before you get into the practices below. And if you're weighing where to invest first, see how interior vs. exterior renovations compare in terms of cost and impact.
The Practices That Keep Projects on Course
These aren't abstract principles — they're concrete habits that experienced homeowners and contractors return to on every job. Apply them consistently and you'll avoid the most common and costly mistakes.
Define your full project scope in writing before any work begins
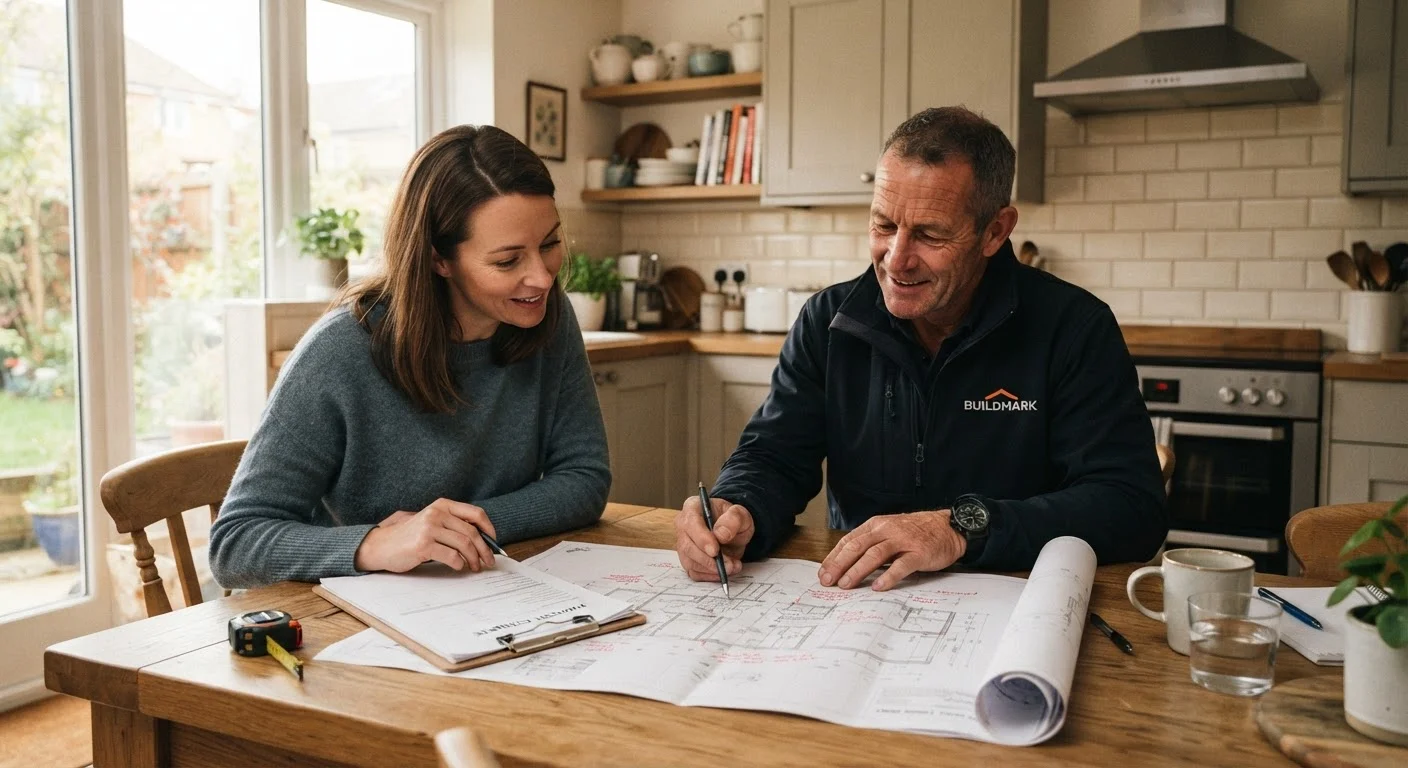
Scope creep — the gradual expansion of a project beyond its original boundaries — is one of the most common reasons renovations run over budget and schedule. A written scope gives both you and your contractor a shared reference point, reducing misunderstandings and unplanned additions mid-project.
Build a contingency fund of 10–15% into your budget from day one
Hidden conditions — rotted subfloor, outdated wiring, mold behind drywall — are discovered during nearly every substantial renovation. Without a contingency buffer, these surprises force either a budget overrun or a compromised result. The contingency isn't extra spending money; it's insurance against what you cannot yet see.
Document every decision and change order in writing as it happens
Memory is unreliable across a multi-week project with multiple parties involved. Change orders — any deviation from the original scope, including additions, substitutions, or deletions — should be recorded and signed before work proceeds. This paper trail protects both sides if disputes arise.
Establish a realistic timeline with clear milestones and dependencies
Renovation schedules involve sequenced trades — rough plumbing before drywall, drywall before painting, painting before cabinet installation. Understanding these dependencies helps you spot when a delay in one phase will cascade into others, and lets you address scheduling gaps before they compound.
Use a punch list before issuing final payment
A punch list is a written inventory of every item that needs correction, completion, or touch-up before a project is considered finished. Walking through the space systematically before releasing final payment is the clearest leverage a homeowner has to ensure quality follow-through.
Understand which tasks are DIY-appropriate and which require licensed professionals
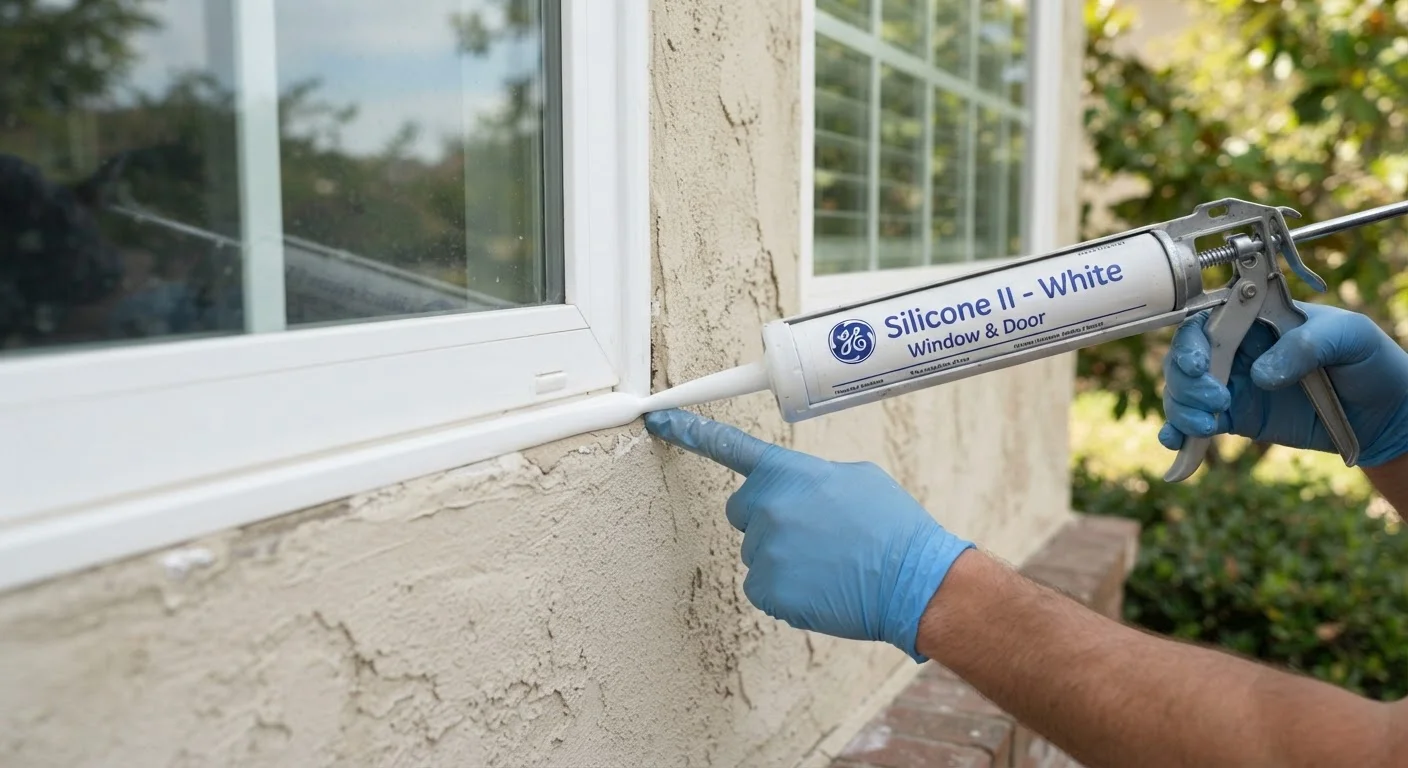
Taking on work beyond your skill level introduces safety risk, code violations, and potential insurance complications. Being honest about this boundary saves money in the long run. Learn which improvements are DIY-friendly before you pick up a tool.
Staying Organized Through the Middle of a Project
The planning phase gets most of the attention, but the middle stretch — when trades are overlapping, decisions are coming fast, and fatigue sets in — is where projects most often lose their shape. A few organizing habits make the difference.
Permits: Don't Skip This Step
Many homeowners underestimate how often permits are required — and what's at stake when they're skipped. Electrical, structural, plumbing, and addition work typically require permits in most US jurisdictions. Unpermitted work can complicate home sales, void insurance claims, and require costly remediation. See what a home renovation permit actually covers for a full breakdown of when you need one and what inspections follow.
Keep all project communications in one place. Whether that's a dedicated email thread, a shared folder, or a project notebook, having a single source of truth prevents decisions from getting lost. If a contractor mentions a change verbally on-site, follow up with a written message that same day confirming what was discussed.
Budget tracking should be ongoing, not a one-time setup. Compare actual spend against your original estimate each week. If you're already approaching your contingency reserve mid-project, that's a signal to tighten scope on remaining decisions — not a reason to panic, but information worth having early. For broader household budget discipline, the habits that make budgets stick offers useful framing.
Closing Out a Project the Right Way
How a project ends matters as much as how it starts. A systematic close-out protects your investment and ensures the contractor completes everything they were hired to do.
Walk every space with your punch list in hand before signing off. Review warranties for any installed products and confirm you have all relevant documentation — permits, inspection sign-offs, and product manuals. Releasing final payment only after punch list items are resolved is standard practice; a reputable contractor will expect it.
It's also worth a final check against the myths you may have encountered along the way. Many common renovation beliefs — about what adds value, what can be skipped, what's safe to DIY — don't hold up to scrutiny. Renovation myths that cost homeowners is a useful read once your project wraps and before you plan the next one.