

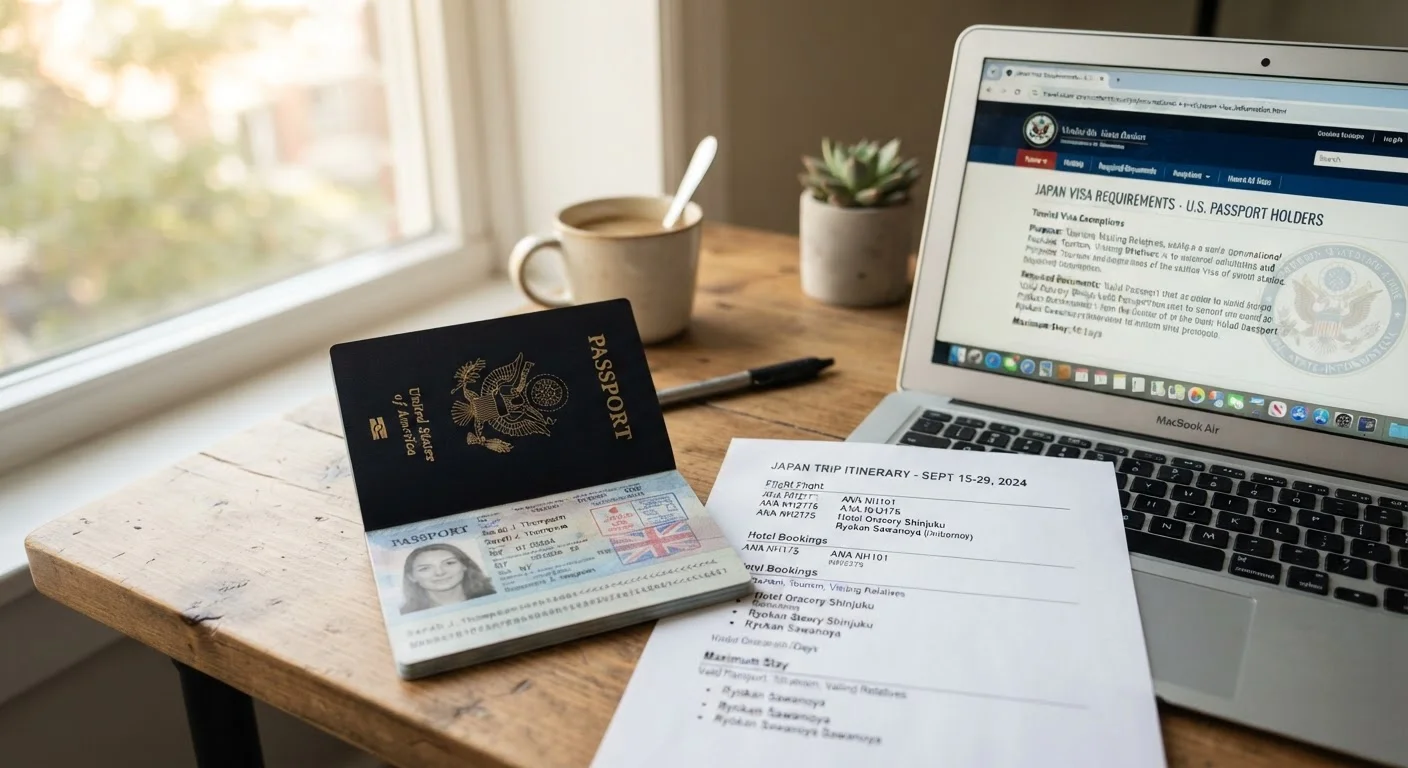
Why Visa Language Feels Confusing
Visa requirement pages are written for legal and administrative audiences, not everyday travelers. Terms like "visa on arrival," "visa exemption," and "e-visa" can seem interchangeable at first glance — but they describe completely different processes with different preparation timelines and costs.
Adding to the confusion: requirements differ based on your passport's issuing country, not where you live or hold residency. A US citizen living abroad uses US passport rules; a dual citizen may have a choice but must understand which passport they're entering on. This guide walks you through how to decode any visa requirement page so you know exactly what applies to you before you book. For a broader view of what to sort out before any international trip, see our complete first-time international trip prep guide.
The Four Entry Categories Explained
Most countries classify foreign travelers into one of four categories. Knowing which one applies to you tells you how much lead time and paperwork you need.
- Visa-free / Visa exemption: Holders of certain passports may enter without any visa for a specified number of days. No application required — but your passport still must be valid, and you may need proof of onward travel or sufficient funds.
- Visa on Arrival (VOA): You receive a visa when you land at the airport or border crossing. It sounds convenient, but you typically need to bring passport photos, the correct fee in local or US currency, and a completed arrival form. Not all entry points in a country may offer VOA — confirm which airports or borders are eligible.
- E-Visa: Applied for online before travel, usually through an official government portal. Processing times range from 24 hours to several weeks. You receive approval digitally and present it at the border — no embassy visit required.
- Embassy / Consular Visa: Requires an in-person or mail-in application to the destination country's embassy or consulate. This category includes tourist visas, business visas, and long-stay visas. Lead time can range from a few days to several months depending on the country.
Use IATA Travel Centre as a Secondary Check
Airlines use the IATA Travel Centre database to verify passenger eligibility before boarding. While it is not a substitute for official government sources, it can serve as a useful cross-reference to catch anything you may have missed. Access it through your airline's website or directly at iatatravelcentre.com.
How to Look Up Your Actual Requirement
Follow these steps every time you research a new destination. Skipping steps is how travelers end up boarding a flight they aren't allowed to take.
Start with the US Department of State website
Go to travel.state.gov and search for your destination country. The country information page lists entry and exit requirements as known to the US government. This is your baseline — not a travel blog, not a booking platform's FAQ.
Cross-reference with the destination country's official immigration site
Find the official government or immigration authority website for the country you're visiting. Search for the country name plus "official visa" or "immigration ministry." This source is authoritative for fee amounts, required documents, and eligible entry ports.
Identify which category applies to US passport holders
On the official immigration page, look for a section organized by nationality or passport. Confirm whether US citizens fall under visa-free, visa on arrival, e-visa, or embassy visa. Note the permitted stay length and any purpose-of-travel restrictions (some categories cover tourism only).
Check passport validity and blank page requirements
Before proceeding with any application, confirm your passport's expiration date against the destination's validity rule (often six months beyond your return date). Count your remaining blank pages. If either falls short, renew your passport before booking non-refundable travel.
Note the application timeline and gather required documents
Once you know which visa category applies, map out the application deadline relative to your travel date. Embassy visas may require appointments scheduled weeks in advance. E-visas may have a processing window of several business days. Collect all required documents — typically a valid passport, passport-size photos meeting exact specifications, proof of accommodation, and a return or onward ticket.
Reconfirm requirements close to your departure date
Check both official sources again within two to four weeks of travel. Requirements, fees, and even visa categories can change due to diplomatic shifts, public health conditions, or policy updates. A rule that applied when you booked may not apply when you fly.
Common Pitfalls and How to Avoid Them
Even travelers who do their homework run into preventable issues. Watch for these patterns:
- Passport validity: Many countries require your passport to be valid for at least six months beyond your intended departure date. If you're cutting it close, renew first.
- Blank pages: Some countries require one or two completely blank visa pages. Check your passport before applying.
- Overstay rules: Visa-free entry does not mean unlimited entry. Overstaying — even by one day — can result in fines, deportation, or future entry bans.
- Transit visas: If your itinerary involves a layover in a country you're not visiting as a destination, you may still need a transit visa. This is particularly common in certain regions for US travelers connecting through airports there.
For help organizing all the documents you'll gather through this process, our travel document organization guide covers where to store physical and digital copies securely.
Entry requirements, fees, and processing times are subject to change. Always verify current requirements with official government sources — both the US Department of State and the destination country's official immigration authority — before finalizing travel plans.