
Understanding What You're Working With
Drywall — also called gypsum board or sheetrock — is a composite panel made of a gypsum plaster core pressed between two layers of paper. It's durable for everyday use but susceptible to dents, cracks, and holes from doorknobs, settling, moisture, or routine home life. Before reaching for a tool, identify which type of damage you have, because each calls for a slightly different approach.
- Nail holes and small dings (under ¼ inch): The simplest repairs — typically one application of lightweight spackle.
- Hairline cracks: Often caused by seasonal expansion and contraction or minor structural settling. These need joint compound and paper tape or self-adhesive mesh tape to prevent recracking.
- Medium holes (½ inch to 6 inches): Require a physical backing — either a self-adhesive patch, a piece of drywall secured with a backing board, or a commercial patch kit.
- Damaged outside corners: Metal or vinyl corner bead that has been dented or crushed must be cut out and replaced before finishing.
Knowing your damage type upfront saves trips to the hardware store and helps you buy only what you need.
What you will need
Step-by-Step Repair Instructions
Work through these steps methodically. Rushing — especially drying time — is the most common reason patches look obvious after painting.
Gather Your Tools and Materials
Having everything ready before you start avoids mid-job interruptions. Lay out your supplies and inspect the damaged area in good light — a handheld flashlight held at a low angle reveals texture and depth you'd otherwise miss.
[tool_cards]Prepare the Damaged Area
Use a utility knife to cut away any loose paper or crumbling gypsum around the damage. For cracks, score lightly along the crack to widen it slightly — this gives the compound something to grip. For holes, check the cavity for any wiring or plumbing before cutting or probing. If you find wires or pipes, stop and consult a licensed professional before proceeding.
Apply Your Patch or Tape
Choose the method that matches your damage type:
- Nail holes and small dings: Apply a thin layer of lightweight spackle with a putty knife. Press it flush and let it slightly overfill — it shrinks as it dries.
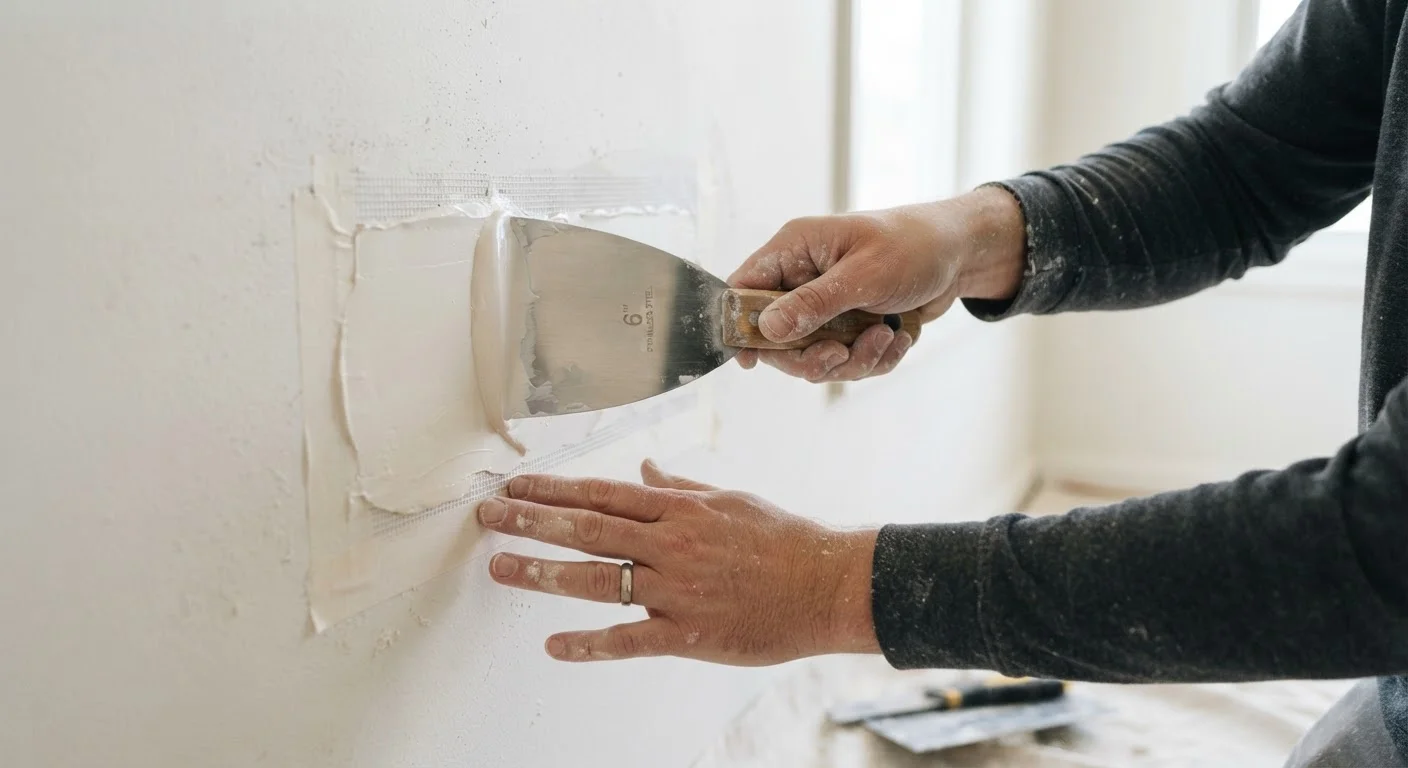
- Hairline cracks: Embed paper tape or self-adhesive mesh tape over the crack, then apply a thin skim coat of all-purpose joint compound over the tape with a 6-inch drywall knife.
- Medium holes (½ inch to 6 inches): Attach a self-adhesive metal patch or cut a clean square of drywall with a backing board screwed behind it to studs or the existing drywall edges. Then apply joint compound over the patch in thin coats.
- Damaged corners: Use a utility knife and pry bar to carefully remove the damaged section of corner bead. Cut a new piece to length and secure it (with screws or crimping tool per the bead type), then apply compound.
Apply Joint Compound in Thin Coats
Using a 6-inch or 10-inch drywall knife, spread joint compound over the patched area in a thin, even layer. Feather the edges outward — meaning you taper the compound gradually so it blends into the flat wall with no abrupt edge. Allow to dry completely. Apply a second coat slightly wider than the first, feathering further out. Most repairs need two to three coats total. Avoid the temptation to apply one thick coat; thick compound cracks as it dries.
Sand, Prime, and Paint
Once the final coat is bone dry, sand smooth with 120-grit, then 150-grit sandpaper. Feather the sanded edge into the wall. Wipe down with a slightly damp cloth, let it dry, then apply a coat of drywall primer. Once the primer is dry, paint to match the existing wall. For small patches, a foam roller creates a texture closer to a rolled wall than a brush does.
Getting the Finish Right
The difference between a professional-looking patch and a visible lump on the wall is almost always in the finishing. Here's how to close the gap.
Sanding
Once the final coat of compound is completely dry (usually 24 hours at normal indoor humidity), sand lightly using 120-grit sandpaper, then finish with 150-grit. Work in circular motions, blending the patch into the surrounding wall. Wipe away dust with a slightly damp cloth before priming.
Priming
This step is non-negotiable. Fresh joint compound and spackle are highly absorbent and will cause paint to dry flat and dull compared to the surrounding wall — a phenomenon called flashing. Apply one coat of drywall primer (or PVA primer) and allow it to dry fully before applying your topcoat.
Painting
Use the same sheen and color as the existing wall. When painting over a patch in the middle of a wall, you may need to paint the entire wall to avoid a visible edge where new and old paint meet. Two coats of paint typically deliver the most consistent coverage.
Match Your Wall Texture Before Painting
Most interior walls have some texture — even a subtle 'orange peel' or 'knockdown' pattern applied during original construction. If you paint directly over a glassy-smooth patch on a textured wall, the difference will be visible in raking light. Before priming, apply a light spray texture from a can (available at most hardware stores) to approximate the surrounding finish, then let it dry before priming. Practice the spray pattern on cardboard first to calibrate the distance and pressure.