

Why Automation Works Better Than Willpower
Most people intend to save but find the money spent by the end of the pay period. That's not a character flaw — it's how spending works when savings is treated as an afterthought. Automation flips that logic: money moves to savings first, and you adjust your spending around what remains.
Research in behavioral economics consistently shows that default behaviors stick. When saving is the default — not a manual decision made every two weeks — people save more without feeling deprived. If you've ever wondered why savings feels so difficult, the common myths about saving may be part of the picture.
The setup takes less than half an hour. After that, it runs on its own.
What you will need
What You'll Need Before You Start
Before logging into your bank, gather a few pieces of information so the process goes smoothly. You'll want to know your net pay amount, your pay schedule (weekly, biweekly, or monthly), and where you want the money to go — a separate savings account at the same bank, or an account elsewhere.
If you don't yet have a dedicated savings account, open one first. Keeping savings separate from your checking account reduces the temptation to dip into it. Many people find it useful to have multiple savings accounts — one for emergencies, one for a specific goal like a vacation fund. For guidance on matching accounts to goals, see our piece on aligning savings strategy with your timeline.
Online or mobile banking portal
Used to create and schedule recurring transfers between your accounts.
Dedicated savings account
Holds your automated savings separately from everyday spending funds.
Pay stub or direct deposit confirmation
Confirms your net pay amount and deposit date so you can time transfers accurately.
Budgeting worksheet or app
Helps you determine a realistic transfer amount before setting up automation.
Step-by-Step: Setting Up Your Automatic Transfer
Follow these steps through your bank's website or mobile app. The exact menu names vary by institution, but the underlying process is the same at nearly every U.S. bank or credit union.
Decide how much to transfer
Review your last two to three pay periods and identify what was left over after essential expenses. A common starting point is 5–10% of your net (take-home) pay, but any consistent amount is better than none. The goal is to choose a figure that won't force you to pull money back from savings to cover regular bills.
Choose your transfer timing
Set the transfer date to one to two business days after your pay is typically deposited. This is the most important configuration choice — moving money immediately after payday means it's gone before spending decisions accumulate. Log in to your bank's transfer or payments section and look for a "recurring transfer" or "automatic transfer" option.
Set the destination account
Select the savings account where the funds should land. If you're transferring to an account at a different institution, you'll need to link the external account first — typically by entering the routing and account numbers and verifying two small test deposits, which most banks process within one to three business days.
Confirm the frequency and save
Match the transfer frequency to your pay schedule. If you're paid biweekly, set a biweekly transfer. If monthly, set monthly. Misaligning frequency and pay periods is a common cause of overdrafts. Review all settings — amount, date, frequency, destination — before saving.
Verify the first transfer and document your setup
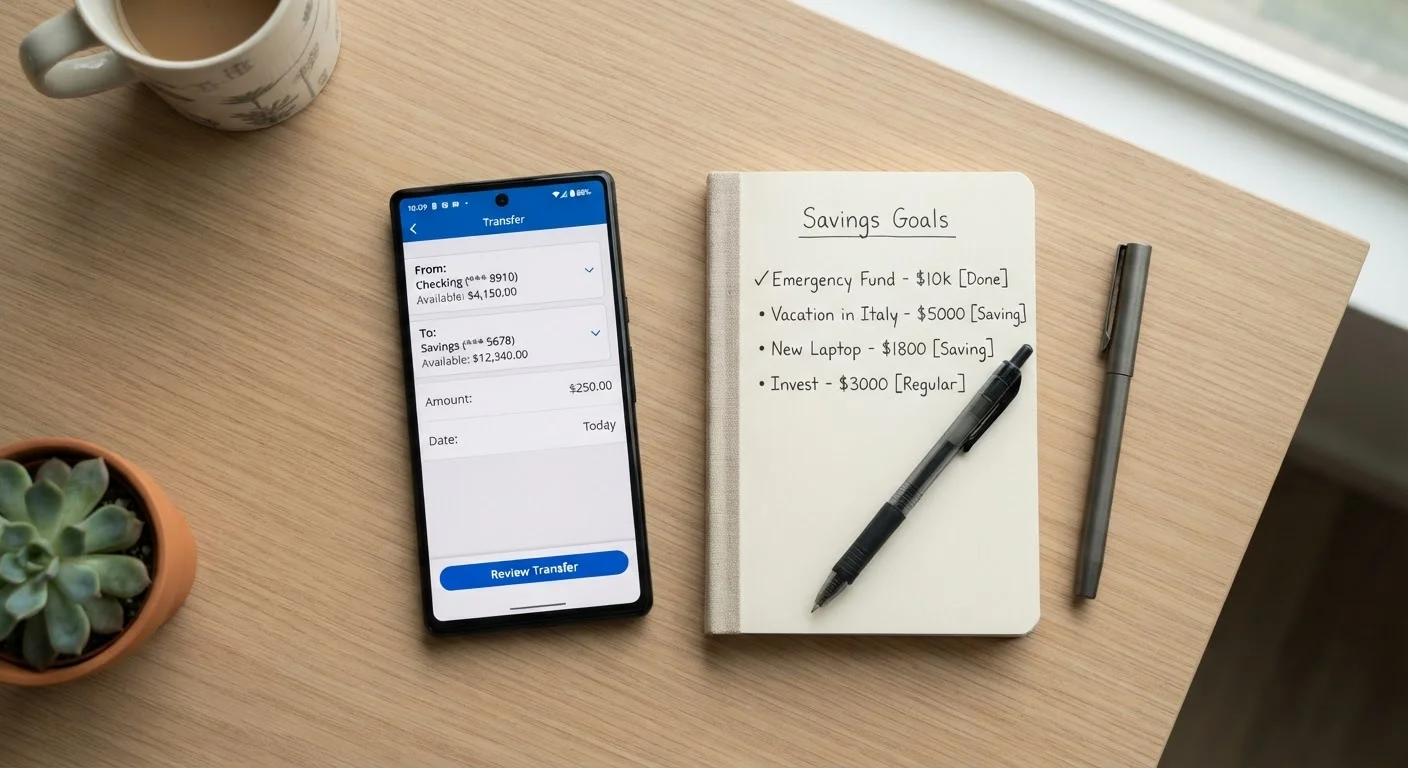
After the first scheduled transfer runs, check both accounts to confirm the correct amount moved. Write down or save a screenshot of your transfer settings — the amount, date, and destination — so you have a reference when reviewing or adjusting later. A simple note in your phone works fine.
Once the transfer is live, verify it ran correctly after the first scheduled date by checking both accounts. A small test amount — say, $10 — is a reasonable way to confirm the setup before committing to a larger regular transfer.
This article provides general financial education and is not personalized financial advice. For guidance specific to your situation, consider consulting a licensed financial professional.
Troubleshooting and Adjusting Over Time
Automation isn't set-and-forget forever. A raise, a new bill, or a change in your goals are all good reasons to revisit your transfer amount. Plan a brief check-in every three to six months — our savings audit guide gives you a structured way to do that.
If you have irregular income — freelance work, gig jobs, or seasonal employment — fixed automatic transfers can cause overdrafts. A percentage-based approach works better: transferring a fixed share of each deposit rather than a fixed dollar amount. See saving on a variable income for strategies designed around inconsistent paychecks.
If the idea of automating still feels out of reach because money is genuinely tight, starting smaller than you think is reasonable is still a start. Our guide to building a savings habit from zero covers the foundational steps when every dollar feels spoken for.